Hey there! As a supplier of RF jumper cables, I've seen my fair share of situations where these cables get damaged. And let me tell you, knowing how to replace a damaged RF jumper cable can be a real lifesaver. Whether you're a DIY enthusiast or a professional in the field, this guide will walk you through the process step by step.
First off, let's talk about why you might need to replace an RF jumper cable. These cables are used to connect different components in a radio - frequency system. Over time, they can be exposed to all sorts of wear and tear. Things like bending them too much, getting them wet, or just plain old age can cause damage. When a cable is damaged, it can lead to signal loss, interference, and all sorts of other problems in your RF system.
Tools You'll Need
Before you start replacing the cable, you need to gather the right tools. You'll definitely need a pair of good quality cable cutters. These are used to cut the old cable and prepare the new one. A crimping tool is also essential. This tool is used to attach the connectors to the cable. You'll also want a measuring tape to make sure you cut the new cable to the right length, and some wire strippers to remove the outer insulation of the cable.

Identifying the Damaged Cable
The first step in replacing the cable is to figure out which one is damaged. In a complex RF system, there could be multiple cables. Look for any visible signs of damage like cuts, frays, or kinks in the cable. You can also use a cable tester if you have one. This device can tell you if there's a problem with the cable's continuity or signal transmission.
Choosing the Right Replacement Cable
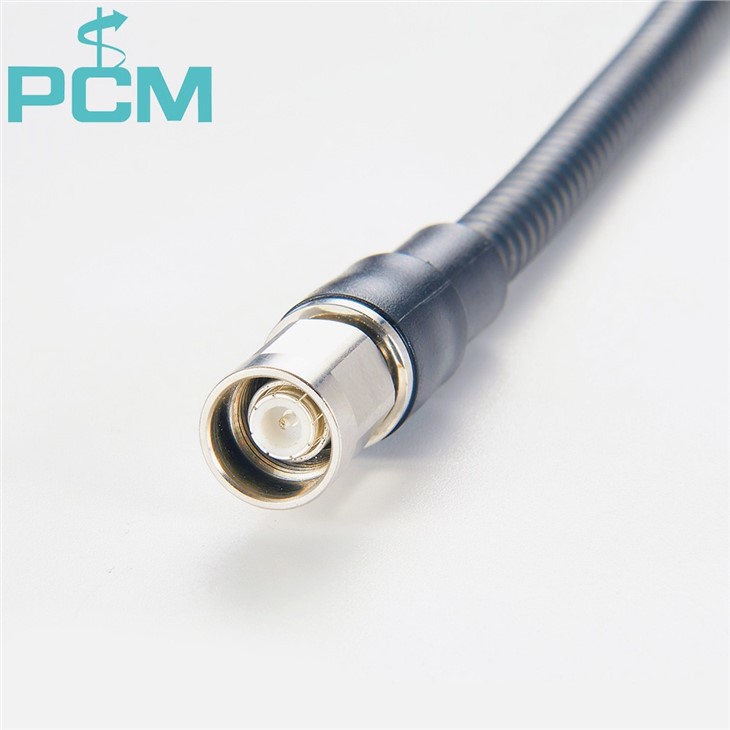
Once you've identified the damaged cable, it's time to choose a replacement. At our company, we offer a wide range of RF jumper cables to suit different needs. For example, if you need a high - quality cable for a specific application, you might consider the SMA To U.FL IPEX 4 RG1.13 Coaxial Cable Assembly. This cable is designed to provide excellent signal transmission and is built to last.
If you're working on a project that requires a different type of connection, we also have options like the 4.3 - 10 Male To Nex10 Male Jumper Cable and the 4.3 - 10 Male To NEX10 Male 1 4 Super Flex Low PIM Jumper. These cables are known for their flexibility and low passive intermodulation (PIM), which is crucial in many RF applications.
Measuring and Cutting the Cable
Once you've chosen the right cable, measure the length of the damaged cable that you're replacing. It's important to get the length as accurate as possible. Use the measuring tape to take the measurement, and then mark the new cable at the appropriate length. With your cable cutters, carefully cut the new cable at the marked point.
Preparing the Cable Ends
After cutting the cable, you need to prepare the ends for the connectors. Use the wire strippers to remove a small section of the outer insulation from each end of the cable. Be careful not to cut into the inner conductors. You'll then need to expose the shield and the center conductor of the cable.
Attaching the Connectors
This is where the crimping tool comes in handy. Each connector comes with specific instructions on how to attach it to the cable. Generally, you'll need to place the prepared cable end into the connector and then use the crimping tool to secure the connector in place. Make sure you crimp the connector firmly, but don't over - crimp it as this can damage the cable.
Testing the New Cable
Once you've attached the connectors, it's time to test the new cable. You can use the same cable tester that you used to identify the damaged cable. Connect the new cable to the appropriate components in your RF system and run a test. If the test is successful, you should see a strong and clear signal. If not, double - check your work. Make sure the connectors are properly attached and there are no kinks or cuts in the new cable.
Installation in the System
After testing, it's time to install the new cable in your RF system. Carefully route the cable to the correct components, making sure it's not too tight or too loose. Secure the cable in place using cable ties or other appropriate fasteners.
Tips and Tricks
- When working with RF cables, always try to minimize the number of bends. Sharp bends can cause signal loss.
- Keep the cables away from sources of heat and moisture. These can damage the cables over time.
- If you're not sure about any step of the process, don't hesitate to ask for help. You can reach out to our team of experts, and we'll be more than happy to assist you.
Conclusion
Replacing a damaged RF jumper cable might seem like a daunting task at first, but with the right tools and a bit of know - how, it's definitely doable. As a supplier of high - quality RF jumper cables, we're committed to helping you find the right solutions for your needs. If you're in the market for RF jumper cables, or if you have any questions about cable replacement or other related topics, please don't hesitate to reach out to us. We're here to make sure your RF systems are up and running smoothly.
References
- RF Cable Installation Guide, Industry Standard Publication
- RF Component Technology Handbook