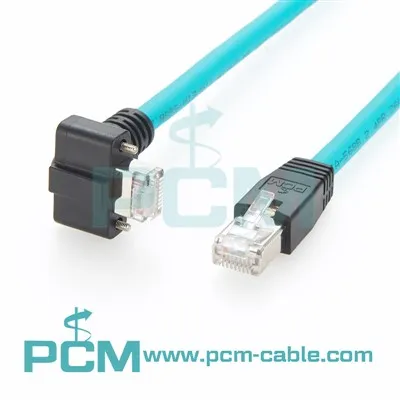
Hey there! As a supplier of RJ45 cables, I often get asked about how to test the continuity of these cables. It's a crucial step, especially when you're dealing with network setups. A faulty cable can lead to all sorts of issues, from slow internet speeds to complete network outages. So, in this blog, I'll walk you through the process of testing the continuity of an RJ45 cable.
First off, let's understand what continuity means. In simple terms, continuity refers to the unbroken path for an electrical current to flow through a cable. When an RJ45 cable has good continuity, it means that the electrical signals can travel smoothly from one end of the cable to the other without any interruptions.
What You'll Need
Before you start testing, you'll need a few tools. The most important one is a cable tester. There are various types of cable testers available in the market, but for testing RJ45 cables, a basic network cable tester will do the job. You can find these testers at most electronics stores or online.
Another thing you might need is a pair of scissors or wire cutters. Sometimes, the cable ends might be a bit frayed or damaged, and you'll need to trim them to ensure a proper connection with the tester.
Step 1: Inspect the Cable
The first step in testing the continuity of an RJ45 cable is to visually inspect it. Look for any signs of damage, such as cuts, kinks, or frayed wires. If you notice any damage, it's likely that the cable has a continuity issue. In such cases, you might need to replace the damaged part of the cable or the entire cable if the damage is severe.
Step 2: Prepare the Cable
Once you've inspected the cable and ensured that it's in good physical condition, it's time to prepare it for testing. If the cable ends are a bit frayed, use your scissors or wire cutters to trim them neatly. Make sure that the wires are straight and not bent or twisted.
Step 3: Connect the Cable to the Tester
Now, it's time to connect the cable to the tester. Most network cable testers have two parts: a sender and a receiver. Plug one end of the RJ45 cable into the sender and the other end into the receiver. Make sure that the connections are secure and that the cable is properly seated in the tester ports.
Step 4: Power On the Tester
After connecting the cable to the tester, power on the tester. Depending on the type of tester you're using, you might need to press a button or switch to turn it on. Once the tester is powered on, it will start sending electrical signals through the cable and checking for continuity.
Step 5: Read the Tester Results
As the tester sends signals through the cable, it will display the results on its screen or indicator lights. If the cable has good continuity, all the indicator lights on the sender and receiver should light up in sequence. This means that the electrical signals are flowing smoothly through the cable and that there are no breaks or interruptions.
If one or more of the indicator lights don't light up, it means that there's a continuity issue in the cable. The position of the non - lighting indicator light can give you an idea of where the problem might be. For example, if the first indicator light on the sender doesn't light up, it could mean that there's a problem with the first wire in the cable.
Troubleshooting Continuity Issues
If you find that your RJ45 cable has a continuity issue, there are a few things you can do to fix it. One option is to check the cable ends again. Sometimes, the problem might be due to a loose connection or a bent wire at the end of the cable. You can try re - seating the cable in the tester ports or trimming the cable ends again to ensure a proper connection.
Another option is to check for any hidden damage in the cable. Sometimes, the damage might be inside the cable sheath, and you might not be able to see it just by looking at the outside. In such cases, you might need to cut the cable open carefully and inspect the wires inside. If you find a broken wire, you can try to splice it back together using a wire splicing kit.
Using Adapters and Connectors
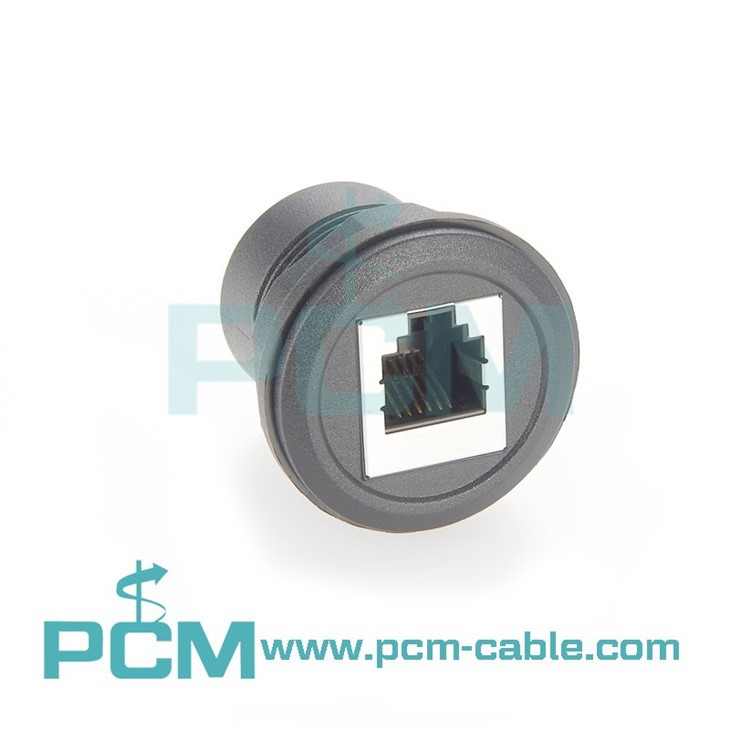
In some cases, you might need to use adapters or connectors with your RJ45 cables. For example, if you're using a device that has a DB9 RS232 female port and you want to connect it to an RJ45 network, you can use a DB9 RS232 Female To RJ45 Female Adapter. When testing the continuity of a cable with an adapter, make sure to test the entire setup, including the adapter, to ensure that there are no continuity issues.
Similarly, if you're working on a project that involves LED plant growing lights and you're using an RJ12 connector, you can check out the LED Plant Growing Light RJ12 Connector. And for high - speed network setups, our Flat Cat8 Ethernet Cable is a great option. You can also test the continuity of these cables and connectors using the same process I've described above.
Why Continuity Testing is Important
Testing the continuity of RJ45 cables is important for several reasons. Firstly, it ensures that your network is reliable. A cable with a continuity issue can cause intermittent network problems, which can be frustrating and can affect your productivity.
Secondly, continuity testing helps you identify and fix problems early. By testing your cables regularly, you can catch any issues before they become major problems and avoid costly network downtime.
Conclusion
Testing the continuity of an RJ45 cable is a relatively simple process that can save you a lot of headaches in the long run. By following the steps I've outlined in this blog, you can easily test your cables and ensure that they're in good working condition.
If you're in the market for high - quality RJ45 cables, adapters, or connectors, we're here to help. We offer a wide range of products that are designed to meet your network needs. Whether you're setting up a small home network or a large corporate network, we have the right solutions for you.
If you're interested in purchasing our products or have any questions about our RJ45 cables, feel free to reach out to us for a procurement discussion. We're always happy to help you find the best products for your specific requirements.

References
- "Network Cabling Installation and Troubleshooting Guide" by TechNet Publications
- "The Complete Guide to Ethernet Cables" by Network World