Hey there! If you're scratching your head about how to connect audio cables to your computer, you've landed on the right page. I'm from an audio cables supplier, and I'm here to walk you through this process step - by - step.
First things first, let's talk about why you might want to connect audio cables to your computer. Maybe you're a budding musician looking to record some sick beats, or perhaps you're just tired of the tinny sound coming from your computer's built - in speakers and want to hook up a high - quality audio system. Whatever the reason, getting the right audio cables and knowing how to connect them is crucial.
Types of Audio Cables
There are several types of audio cables out there, and each has its own unique features and uses.


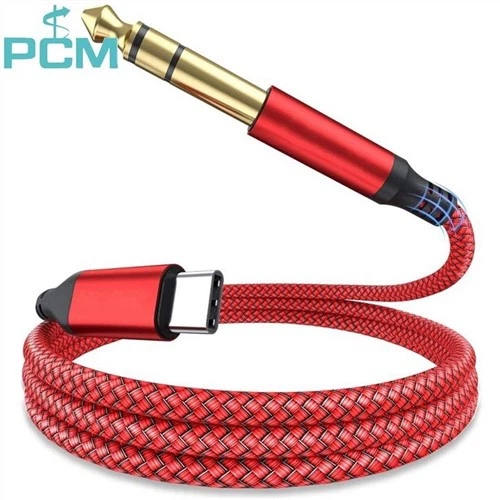
1. 3.5mm Audio Cables
These are probably the most common type of audio cables you'll come across. They're small, lightweight, and can be found on almost every audio device, from headphones to external speakers. The 3.5mm audio cable, also known as a mini - jack cable, is super easy to connect to your computer. Most computers have a 3.5mm audio output port, usually colored green. All you have to do is plug one end of the 3.5mm cable into your computer's audio output port and the other end into your audio device, like your speakers or headphones.
2. RCA Cables
RCA cables are another popular choice, especially when it comes to connecting your computer to a home theater system or a set of powered speakers. RCA cables usually come in pairs - one red and one white. The red cable is for the right audio channel, and the white cable is for the left audio channel. Some computers might not have RCA output ports directly. In that case, you can use a 3.5mm to RCA adapter. Plug the 3.5mm end of the adapter into your computer's audio output, and then connect the RCA ends to your audio device.
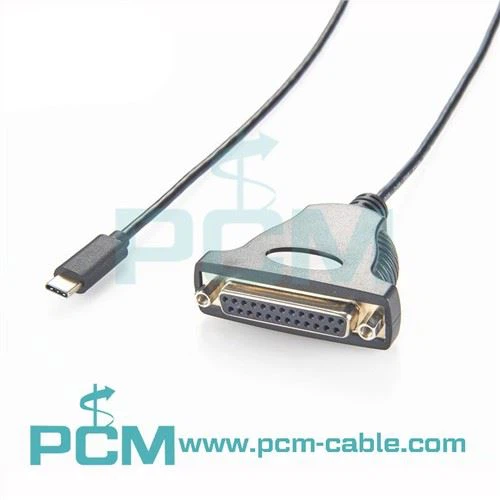
3. XLR Cables
XLR cables are commonly used in professional audio setups, like recording studios or live sound systems. They're known for their high - quality signal transmission and noise - rejection capabilities. If you're using a professional audio interface or a microphone with an XLR output, you'll need to connect it to your computer. Most computers don't have XLR input ports, so you'll need an audio interface. Connect the XLR cable from your microphone or other audio source to the audio interface, and then connect the audio interface to your computer via USB or Thunderbolt.
4. Optical Audio Cables
Optical audio cables, also known as TOSLINK cables, are great for transmitting high - quality digital audio signals. They're often used to connect a computer to a surround - sound system or a high - end audio receiver. To connect an optical audio cable, find the optical output port on your computer (it's usually a small square port), and plug one end of the optical cable into it. Then, connect the other end to your audio device's optical input port.
Connecting Audio Cables to Your Computer
Now that we've covered the different types of audio cables, let's get into the nitty - gritty of actually connecting them to your computer.
Step 1: Identify Your Computer's Audio Ports
The first thing you need to do is figure out what audio ports your computer has. On a desktop computer, you'll usually find the audio ports at the back. They're often color - coded. As I mentioned earlier, the green port is usually for audio output (speakers or headphones), the pink port is for the microphone input, and the blue port is for line - in. On a laptop, the audio ports are usually on the sides. You'll typically see a 3.5mm audio output port and sometimes a separate 3.5mm microphone input port.
Step 2: Choose the Right Cable
Based on your audio device and the ports on your computer, pick the appropriate audio cable. If you're using headphones or small speakers, a 3.5mm cable will do the job. For a home theater system, you might want to use RCA or optical cables.
Step 3: Make the Connection
Once you've got the right cable, it's time to make the connection. Plug one end of the cable into your computer's audio port and the other end into your audio device. Make sure the connections are secure. A loose connection can result in poor audio quality or no sound at all.
Step 4: Configure Your Audio Settings
After connecting the cable, you need to make sure your computer is set to use the right audio output device. On Windows, you can right - click on the speaker icon in the taskbar and select "Open Sound settings". From there, you can choose your audio output device. On a Mac, go to the Apple menu, select "System Preferences", and then click on "Sound". Here, you can select the audio output device you just connected.
Troubleshooting
Sometimes, even after following all the steps, you might run into some issues. Here are some common problems and how to fix them.
No Sound
If you're not getting any sound, first check the connections. Make sure the cables are plugged in properly. Also, check the volume settings on your computer and your audio device. You might have accidentally muted the sound or set the volume too low. If you're using an audio interface, make sure it's properly installed and configured.
Poor Audio Quality
Poor audio quality can be caused by a few things. A loose cable connection can result in crackling or static sounds. Try unplugging and plugging the cable back in to ensure a secure connection. If you're using a long cable, it might be picking up interference. Consider using a shorter cable or a cable with better shielding.
Compatibility Issues
Sometimes, your audio device might not be compatible with your computer. This can happen if your computer doesn't have the right audio ports or if the device requires a specific driver. In this case, you might need to use an adapter or install the necessary drivers.
Our Product: Powerlink Splitter 8 Pin Din
We also offer a great product called the Powerlink Splitter 8 Pin Din. This splitter is perfect for expanding your audio setup. It allows you to connect multiple audio devices to your computer using an 8 - pin din connection. Whether you're a professional audio engineer or just a hobbyist looking to enhance your audio experience, this splitter can be a game - changer.
Wrapping Up and Connecting
Well, there you have it - a comprehensive guide on how to connect audio cables to your computer. I hope this has been helpful. If you're in the market for high - quality audio cables or accessories like the Powerlink Splitter 8 Pin Din, we're here to help. Whether you're a small - time streamer or a large - scale production studio, we've got the products you need.
If you're interested in our products or have any questions about audio cable connections, feel free to reach out. We'd love to have a chat and work with you to find the best audio solutions for your needs. Let's start a conversation and take your audio setup to the next level!
References
- "Audio Engineering Handbook" by Glenn Ballou
- "The Complete Guide to Computer Audio" by various industry experts