Coiling snake cables correctly is not just a matter of neatness; it's a crucial skill that can significantly impact the longevity and performance of your cables. As a supplier of high - quality snake cables, I've seen firsthand the difference proper coiling can make. In this blog, I'll share some expert tips on how to coil snake cables correctly.
Why Coiling Snake Cables Correctly Matters
Before we dive into the coiling techniques, let's understand why it's so important. Snake cables are often used in audio and lighting setups, where they are subjected to a lot of movement and stress. Incorrect coiling can lead to kinks, twists, and tangles, which can damage the internal conductors over time. This damage can result in signal loss, interference, and ultimately, the need for costly cable replacements.
Proper coiling, on the other hand, helps to maintain the integrity of the cable. It reduces the risk of physical damage and ensures that the cable remains flexible and easy to work with. Additionally, a neatly coiled cable is easier to store and transport, saving you time and effort when setting up and breaking down your equipment.
Tools You'll Need
To coil snake cables correctly, you don't need a lot of fancy tools. Here's what you'll need:
- Your hands: This is the most basic and essential tool for coiling cables. Your hands allow you to feel the cable and make adjustments as you go.
- Cable ties or Velcro straps: These are used to secure the coiled cable and prevent it from unravelling. You can choose either cable ties, which are more permanent, or Velcro straps, which are reusable.
- A cable reel (optional): A cable reel can make the coiling process faster and more efficient, especially for longer cables. It also provides a convenient way to store the coiled cable.
Step - by - Step Guide to Coiling Snake Cables
Step 1: Prepare the Cable
Before you start coiling, make sure the cable is clean and free of any debris. Inspect the cable for any signs of damage, such as cuts, abrasions, or exposed wires. If you find any damage, it's best to replace the cable to avoid potential problems.
If the cable is already coiled in a haphazard way, gently straighten it out. You can do this by holding one end of the cable and slowly pulling it through your hands, untangling any knots or twists as you go.
Step 2: Choose a Coiling Method
There are several methods for coiling snake cables, but the two most common ones are the over - under method and the figure - eight method.
The Over - Under Method
This is the most traditional way of coiling cables. Here's how to do it:
- Hold the cable in one hand near the end. Let the rest of the cable hang down.
- With your other hand, start making loops by bringing the cable over and then under the cable that's already in your hand. Make sure the loops are of a consistent size, usually around 6 - 8 inches in diameter.
- Continue making loops until you reach the end of the cable.
- Once you've coiled the entire cable, use a cable tie or Velcro strap to secure the loops together. You can place the tie or strap around the middle of the coil to keep it tight.
The over - under method is great for cables that are going to be stored for a long time. It creates a tight, compact coil that takes up less space.
The Figure - Eight Method
The figure - eight method is a bit more complex but offers some advantages. Here's how to do it:
- Hold the cable in one hand near the end. Make a loop with the cable, crossing it over itself to form a figure - eight shape.
- With your other hand, start making more figure - eight loops, stacking them on top of each other. Make sure the loops are of a consistent size, usually around 6 - 8 inches in diameter.
- Continue making figure - eight loops until you reach the end of the cable.
- Once you've coiled the entire cable, use a cable tie or Velcro strap to secure the loops together. You can place the tie or strap around the middle of the coil to keep it tight.
The figure - eight method is ideal for cables that need to be quickly deployed and retracted. It helps to prevent the cable from twisting and tangling when it's being used.
Step 3: Store the Coiled Cable
After you've coiled the cable, it's important to store it properly. If you're using a cable reel, simply wind the coiled cable onto the reel. Make sure the cable is evenly distributed on the reel to prevent it from getting tangled.
If you're not using a cable reel, you can store the coiled cable in a cable bag or a storage container. Make sure the container is large enough to hold the coiled cable without squeezing it too tightly.
Coiling Different Types of Snake Cables
Coiling the 52 - 1335A XS Multi I O Box Cable
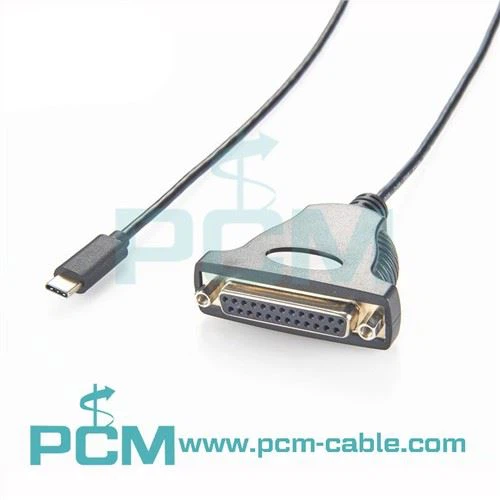
The 52 - 1335A XS Multi I O Box Cable is a multi - purpose cable often used in audio setups. When coiling this cable, follow the same steps as above. However, because it may have multiple connectors, be extra careful not to damage them. You can use cable ties or small zip - lock bags to keep the connectors organized and protected.
Coiling the DB25 To 8 XLR Male Cable
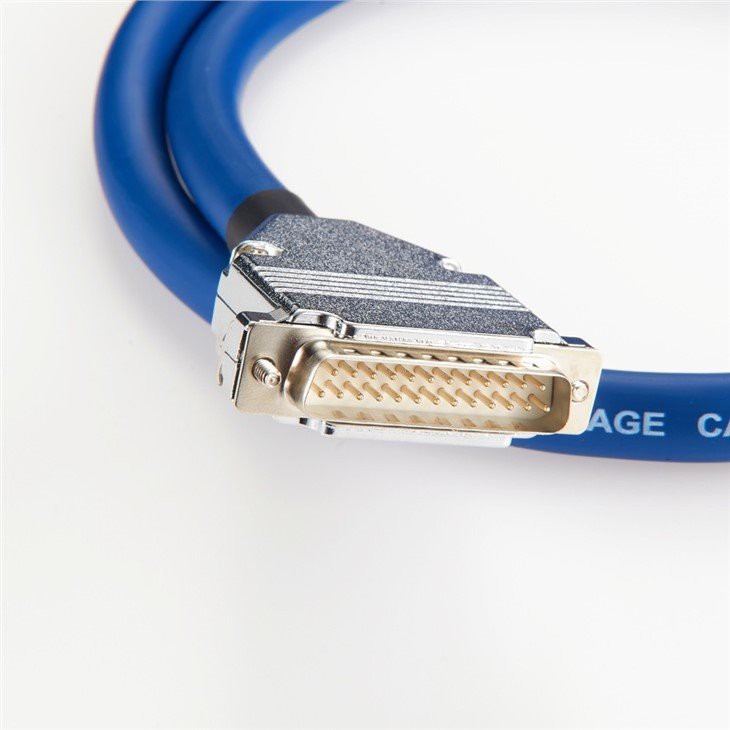
The DB25 To 8 XLR Male Cable is commonly used to connect audio equipment. When coiling this cable, pay attention to the connectors at both ends. You may want to use a separate cable tie or strap to secure the connectors to the coiled cable to prevent them from getting caught on other objects.
Coiling the DB25 To RCA Snake
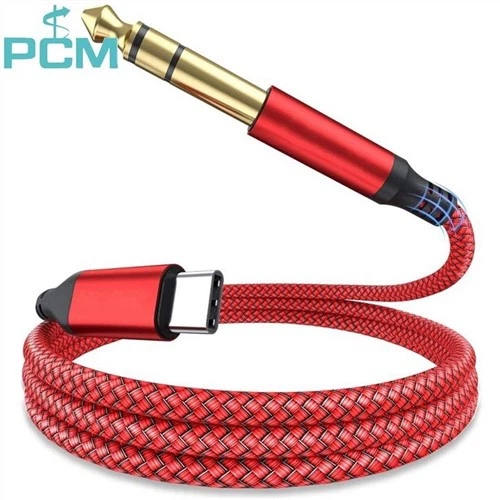
The DB25 To RCA Snake is another popular cable in audio setups. Similar to the other cables, make sure to coil it neatly and protect the connectors. You can use a soft cloth or a cable protector to cover the RCA connectors to prevent them from getting scratched.
Troubleshooting Common Coiling Problems
Tangles
If you encounter tangles while coiling the cable, don't pull on the cable forcefully. Instead, gently work the tangle out by following the path of the cable with your fingers. You may need to start from one end of the tangle and slowly work your way through to the other end.
Kinks
Kinks can be more difficult to fix. If you notice a kink in the cable, try to straighten it out by gently pulling on the cable on either side of the kink. You can also use your fingers to massage the kink out. If the kink is severe, it may be a sign of internal damage to the cable, and you should consider replacing it.

Conclusion
Coiling snake cables correctly is an important skill for anyone who uses audio or lighting equipment. By following the steps outlined in this blog, you can ensure that your cables remain in good condition, perform well, and last longer.
As a supplier of high - quality snake cables, we understand the importance of proper cable maintenance. If you're in the market for new snake cables or have any questions about coiling or cable care, we'd love to hear from you. Contact us to discuss your needs and start a purchase negotiation. We're committed to providing you with the best products and services to meet your requirements.
References
- "Cable Management Best Practices" - Electrical Engineering Handbook
- "Audio Cable Maintenance Guide" - Professional Audio Magazine