Hey there! I'm a supplier of Serial Adapters, and today I'm gonna walk you through how to configure a serial adapter. Whether you're a tech newbie or a seasoned pro, this guide will help you get your serial adapter up and running smoothly.
Understanding Serial Adapters
First things first, let's talk a bit about what serial adapters are. Serial adapters are devices that allow you to connect devices that use serial communication protocols to other systems, often through a USB port. They're super handy for connecting older serial devices, like some industrial equipment or legacy computers, to modern computers that may not have built - in serial ports.
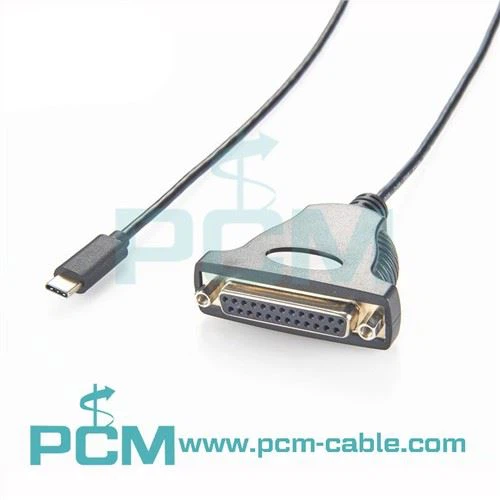
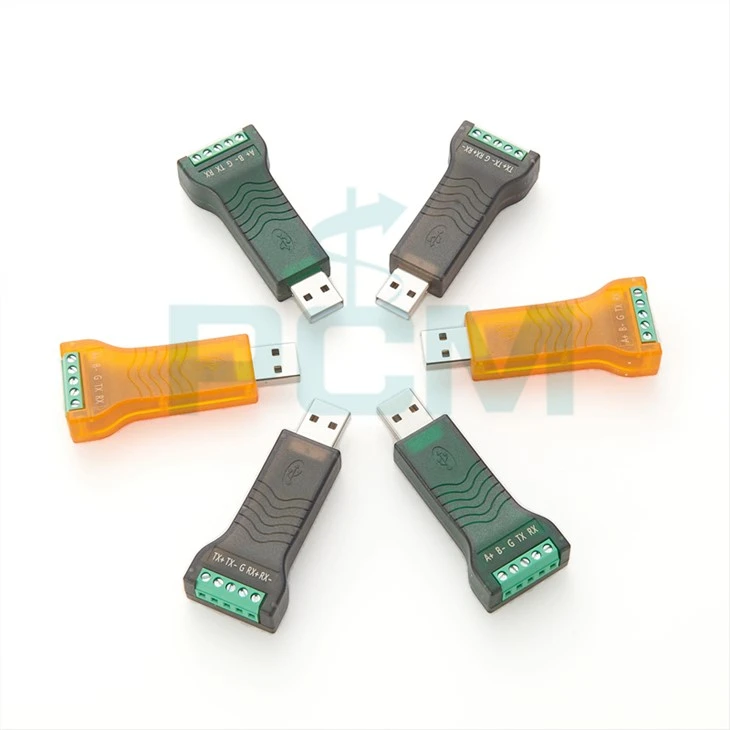
There are different types of serial adapters out there. For example, the USB to DB9 RS232 Cable is a popular choice. It converts a USB connection on your computer to a DB9 RS232 serial connection, which is commonly used in many serial devices. Another option is the ADP - RJ458P - DB9M Compatible With MOXA, which is designed to work well with MOXA equipment and provides a reliable serial connection. And if you need more flexibility, the 2 - in - 1 USB Serial Converter USB To RS232 RS485 RS422 TTL Converter can handle multiple serial communication protocols.
Prerequisites
Before you start configuring your serial adapter, there are a few things you'll need:
- The Serial Adapter: Obviously, you need the actual adapter. Make sure it's in good condition and compatible with your devices.
- A Computer: You'll use your computer to configure the adapter. It should have a USB port if you're using a USB - based serial adapter.
- Driver Software: Most serial adapters require driver software to work properly. You can usually find the driver on the manufacturer's website. Download and install it before you connect the adapter to your computer.
- Serial Communication Software: There are many software programs available that allow you to communicate with serial devices. Some popular ones include PuTTY (for Windows, Linux, and macOS) and CoolTerm (for macOS).
Step - by - Step Configuration
Step 1: Install the Driver
Once you've downloaded the driver software from the manufacturer's website, run the installation file. Follow the on - screen instructions. Usually, it's as simple as clicking "Next" a few times until the installation is complete. After the installation, you may need to restart your computer.
Step 2: Connect the Serial Adapter
After your computer has restarted, connect the serial adapter to your computer's USB port. Your computer should detect the new hardware and install the necessary drivers automatically if they're already installed. You may see a notification on your screen indicating that a new device has been detected.
Step 3: Check Device Manager (Windows) or System Information (macOS)
- Windows: Open the Device Manager. You can do this by right - clicking on the Start button and selecting "Device Manager". Look for the "Ports (COM & LPT)" section. If your serial adapter is installed correctly, you should see a new COM port listed. Note down the COM port number, as you'll need it later.
- macOS: Click on the Apple menu and select "About This Mac". Then click "System Report". Under "Hardware", click on "USB". Look for your serial adapter in the list. The details will show information about the adapter, but you won't see a COM port number like in Windows. Instead, you'll use a device path like
/dev/cu.usbserial - xxxxin your serial communication software.
Step 4: Configure Serial Communication Software
Now, open your serial communication software. Let's use PuTTY as an example:
- Open PuTTY.
- In the "Session" category, select "Serial".
- In the "Serial line" field, enter the COM port number (if you're using Windows) or the device path (if you're using macOS).
- Set the "Speed (baud)" to the appropriate value. The most common baud rates are 9600, 115200, etc. You'll need to match this value to the settings of your serial device.
- Set other parameters like "Data bits", "Stop bits", and "Parity" according to the requirements of your serial device. These settings determine how data is transmitted and received over the serial connection.
- Click "Open" to establish a connection with your serial device.
Step 5: Test the Connection
Once you've configured the serial communication software and established a connection, it's time to test it. Send some test commands to your serial device and see if you get a response. If you don't get a response, double - check your settings, make sure the device is powered on, and that all the connections are secure.
Troubleshooting
Sometimes, things don't go as smoothly as we'd like. Here are some common issues and how to fix them:
- Driver Issues: If your computer doesn't detect the serial adapter or you get an error message about the driver, try uninstalling and reinstalling the driver. Make sure you're using the correct driver for your adapter and operating system.
- COM Port Conflict: If you have multiple serial devices or other hardware that uses COM ports, there may be a conflict. You can change the COM port number in the Device Manager (Windows) to resolve this issue.
- Communication Errors: If you're getting garbled data or no data at all, check the baud rate, data bits, stop bits, and parity settings. They need to match between your serial adapter and the serial device.
Conclusion
Configuring a serial adapter may seem a bit daunting at first, but with the right steps and a bit of patience, you can get it up and running in no time. Whether you're using the USB to DB9 RS232 Cable, the ADP - RJ458P - DB9M Compatible With MOXA, or the 2 - in - 1 USB Serial Converter USB To RS232 RS485 RS422 TTL Converter, following these steps will help you establish a reliable serial connection.
If you're in the market for a serial adapter or need more information about our products, don't hesitate to reach out. We're here to help you find the right solution for your serial communication needs. Contact us for a free consultation and let's start a great business relationship!

References
- Manufacturer's documentation for serial adapters
- PuTTY official website
- CoolTerm official website